Design Templates
Product Families
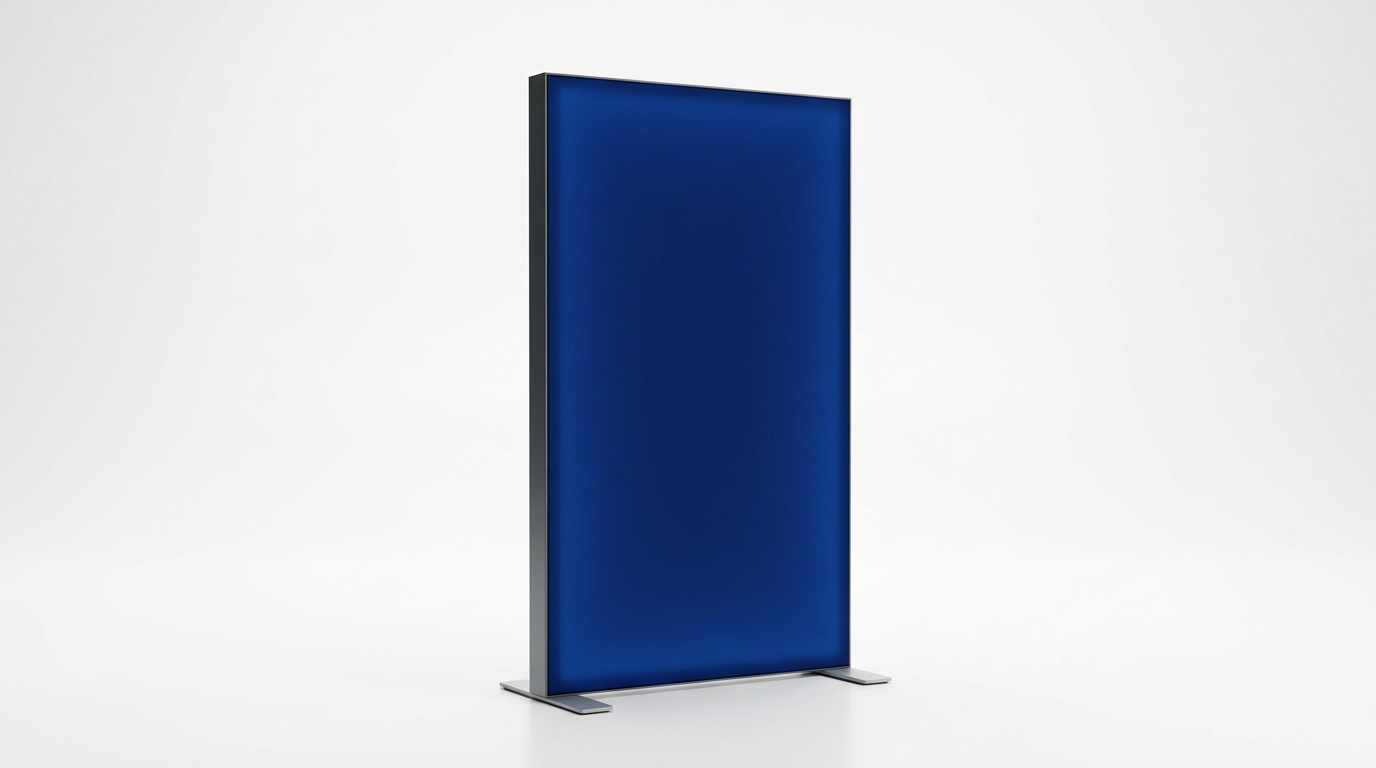
Fabric Displays & Stands
Backlit SEG displays, tension fabric popups, and stands.
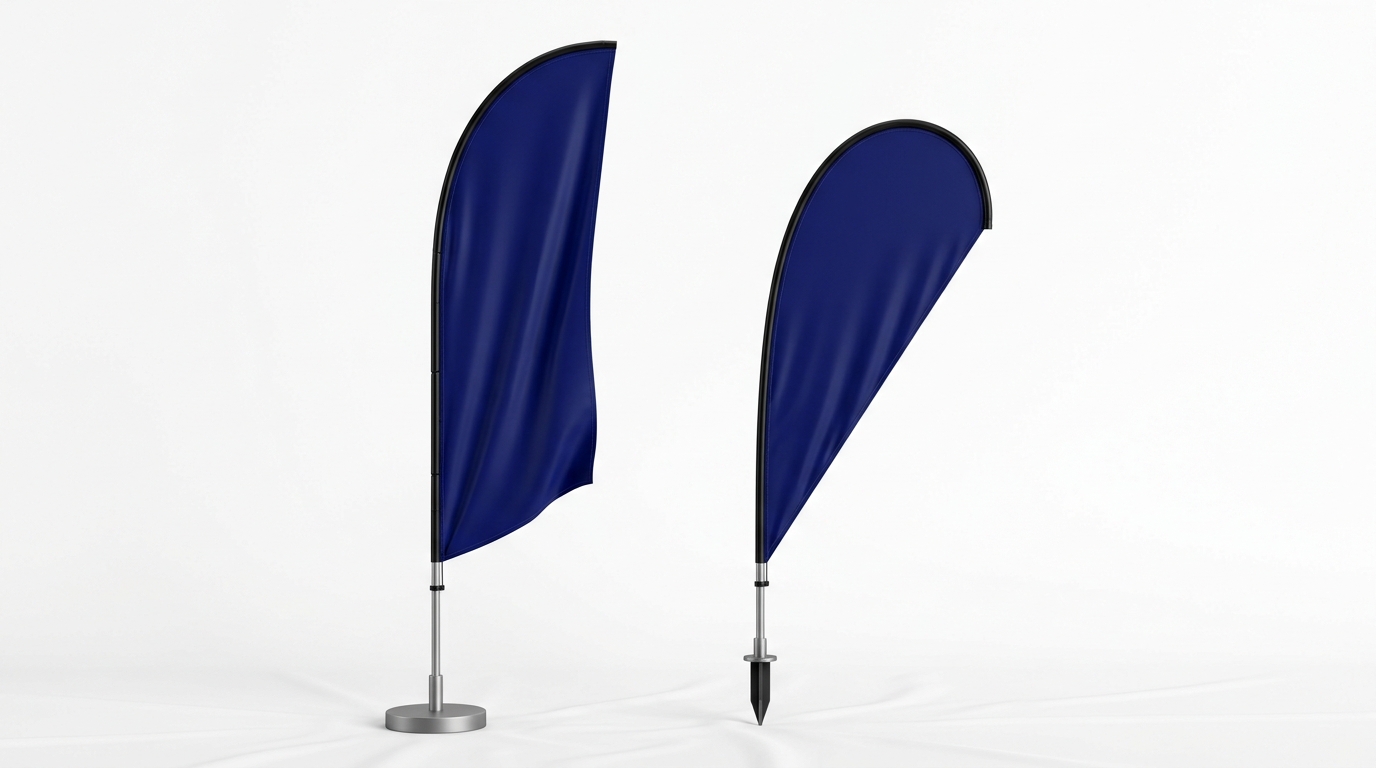
Flags & Banners
Feather, convex, teardrop, and rectangle flags in all sizes.
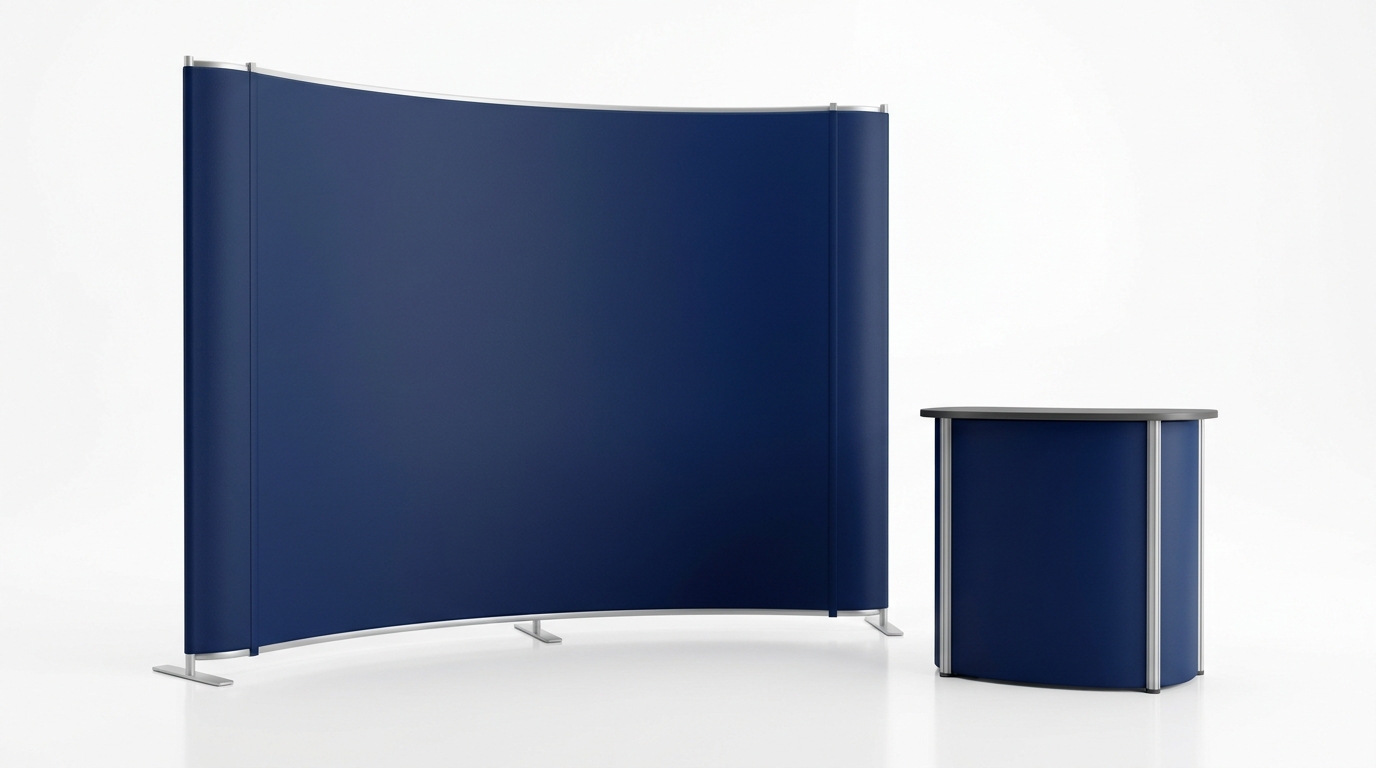
General Displays & Popups
Curved and straight velcro fabric displays and podium wraps.
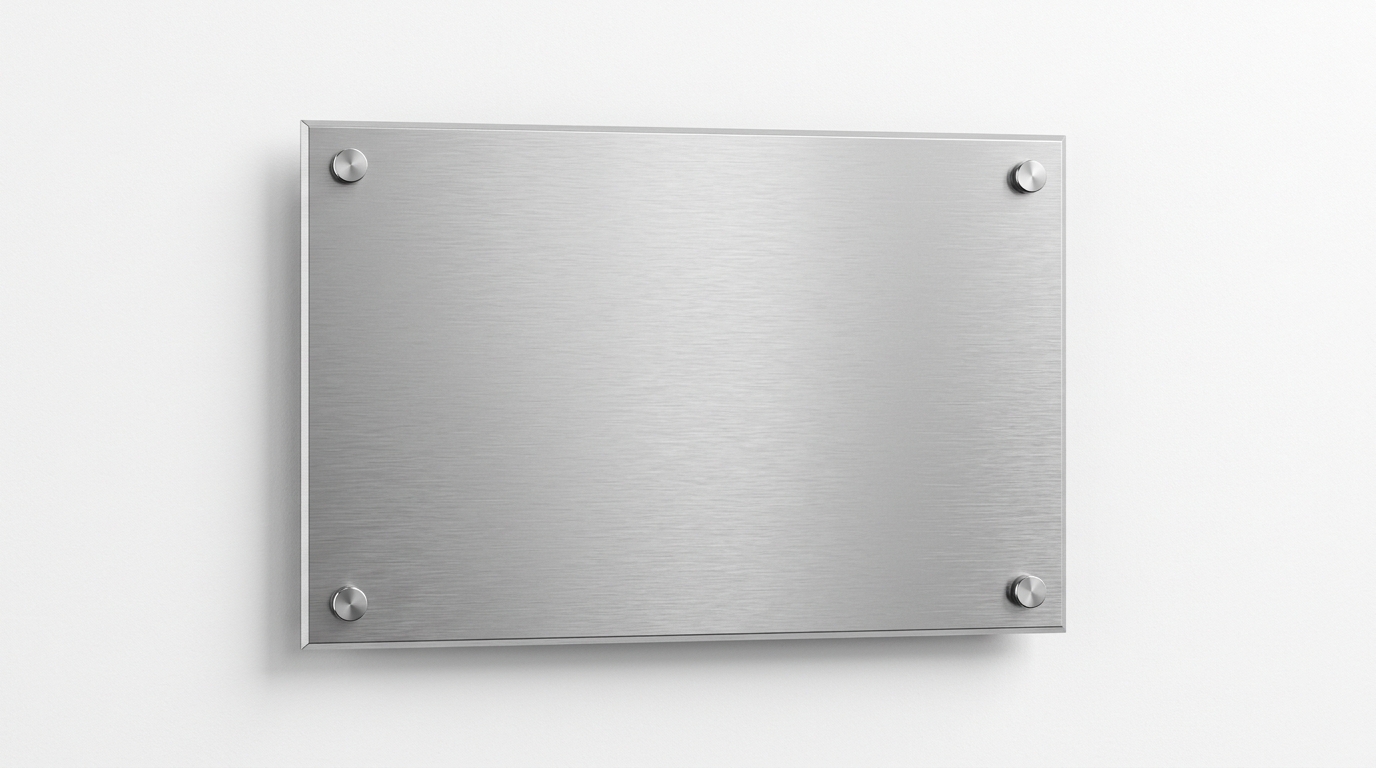
Signs & Hardware
File preparation and setup guides for rigid metal signs.
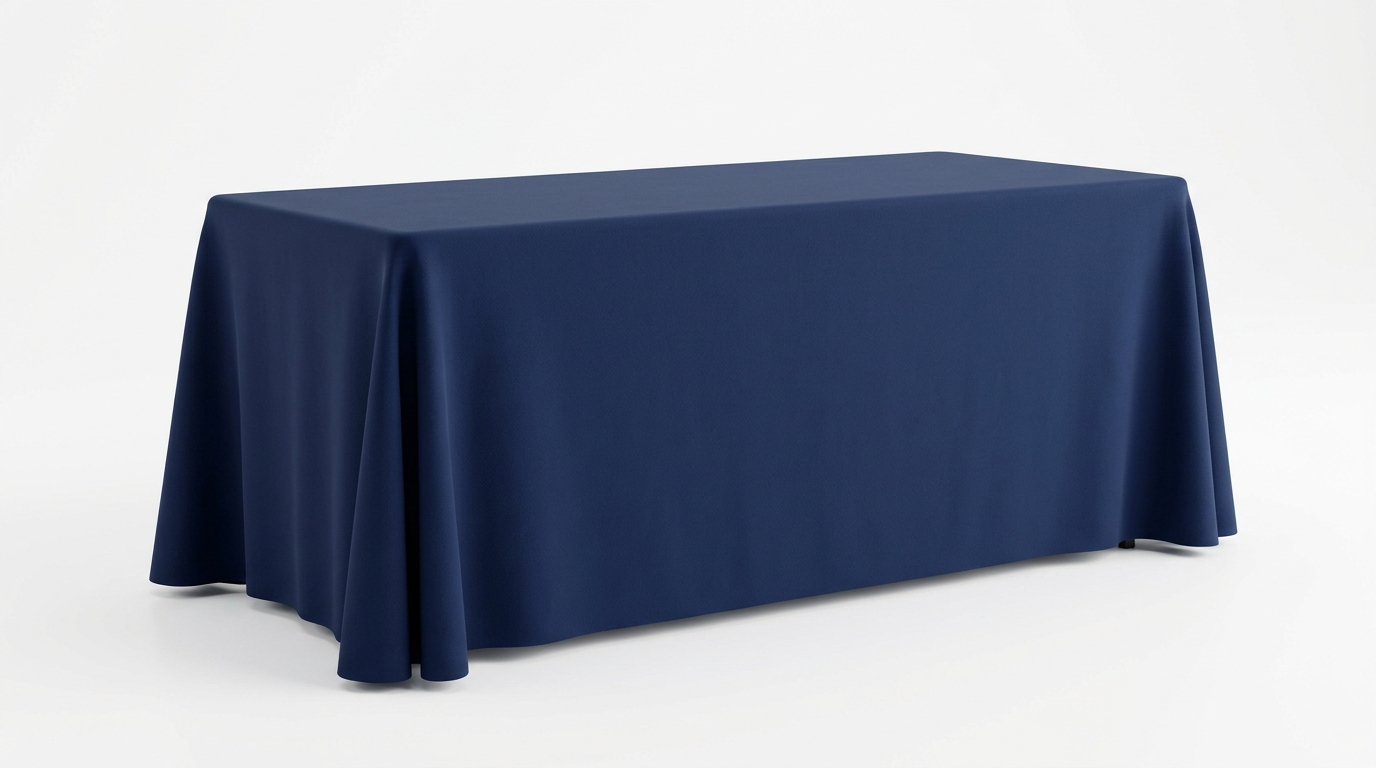
Table Covers & Throws
Fitted covers, stretch spandex, and round tablecloths.
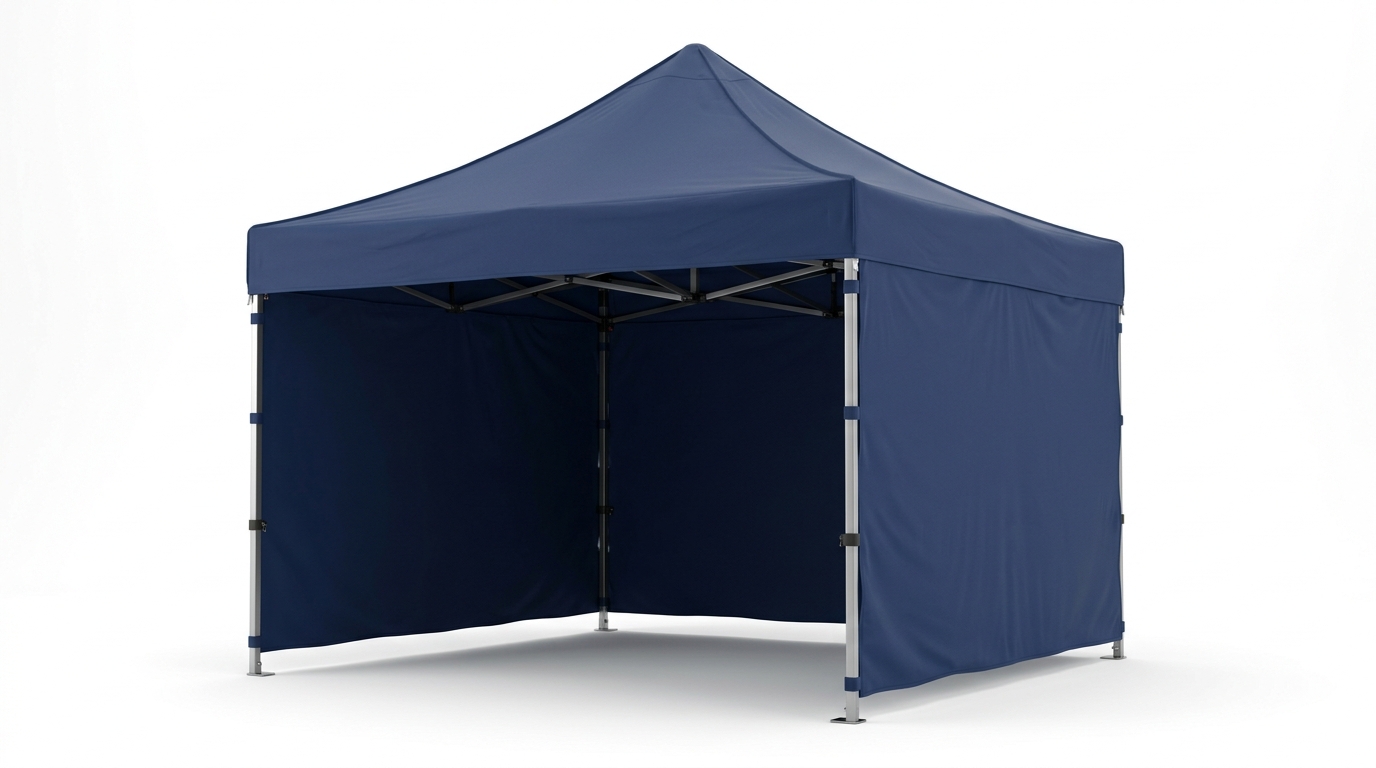
Tents & Canopies
Custom event tent canopies, full walls, and half walls.
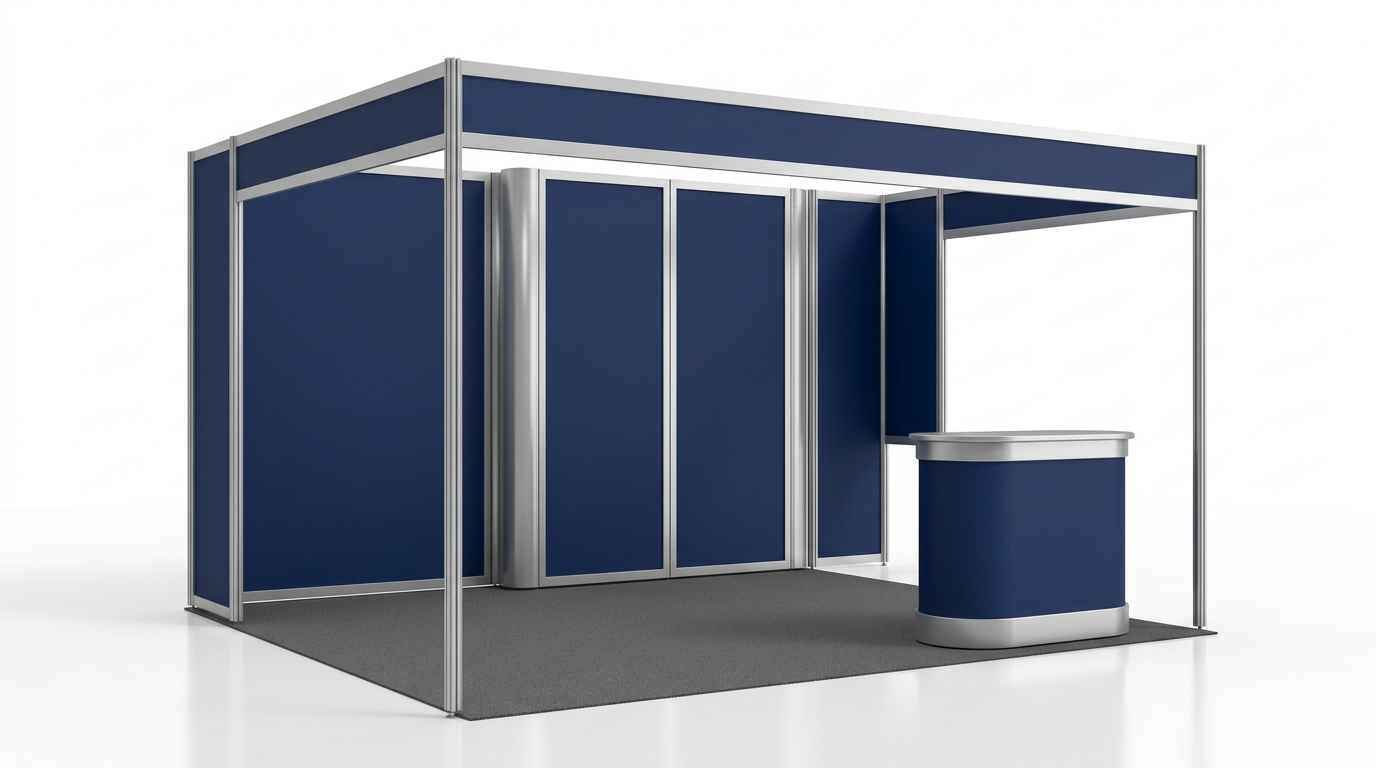
Trade Show Booths
Artwork templates and setup instructions for modular booths.
No matching templates found
No design templates match your search query. Clear search or reset the category dropdown to view all items.
Fabric Displays & Stands
Backlit SEG displays, tension fabric popups, and stands.
10ft SEG Backlit Fabric Display (Double-Sided)
10ft SEG Backlit Fabric Display (Single-Sided)
Installation Guide - 10ft SEG Backlit Display
10ft SEG Backlit Popup Display (Double-Sided)
10ft SEG Backlit Popup Display (Single-Sided)
Installation Guide (Frame) - Backlit Popup Display
Installation Guide (LEDs) - Backlit Popup Display
10ft SEG Fabric Display (Double-Sided)
10ft SEG Fabric Display (Single-Sided)
Installation Guide - 10ft & 20ft SEG Fabric Display
20ft SEG Fabric Display (Double-Sided)
20ft SEG Fabric Display (Single-Sided)
Installation Guide - 10ft & 20ft SEG Fabric Display
3ft SEG Fabric Stand (Double-Sided)
3ft SEG Fabric Stand (Single-Sided)
Installation Guide - 3ft SEG Display
8ft SEG Backlit Popup Display (Double-Sided)
8ft SEG Backlit Popup Display (Single-Sided)
Installation Guide (Frame) - Backlit Popup Display
Installation Guide (LEDs) - Backlit Popup Display
Installation Guide - Tension Fabric Display - Curve
Trade Show Podium Fabric Graphic Template
Tension Fabric Display 10ft Curve
Tension Fabric Display 6ft Curve
Tension Fabric Display 8ft Curve
Installation Guide - Tension Fabric Display - Straight
Trade Show Podium Fabric Graphic Template
Tension Fabric Display 10ft Straight
Tension Fabric Display 20ft Straight
Tension Fabric Display 8ft Straight
Tension Fabric Stand 3ft Straight
Tension Fabric Stand 4ft Straight
Installation Guide - SEG Wall Art
Flags & Banners
Feather, convex, teardrop, and rectangle flags in all sizes.
Feather Convex Flag - Large (Double-Sided)
Feather Convex Flag - Large (Single-Sided (Print-Through))
Feather Convex Flag - Large (Single-Sided (Print-Through Reverse))
Feather Convex Flag - Medium (Double-Sided)
Feather Convex Flag - Medium (Single-Sided (Print-Through))
Feather Convex Flag - Medium (Single-Sided (Print-Through Reverse))
Feather Convex Flag - Small (Double-Sided)
Feather Convex Flag - Small (Single-Sided (Print-Through))
Feather Convex Flag - Small (Single-Sided (Print-Through Reverse))
Feather Convex Flag - Extra Large (Double-Sided)
Feather Convex Flag - Extra Large (Single-Sided (Print-Through))
Feather Convex Flag - Extra Large (Single-Sided (Print-Through Reverse))
Desktop Teardrop Flag - Single Sided (Print-Through)
Econo Feather Flag - Single Sided (Print-Through)
Econo Feather Flag - Single Sided (Print-Through Reverse)
Feather Angled Flag - Large (Double-Sided)
Feather Angled Flag - Large (Single-Sided (Print-Through))
Feather Angled Flag - Large (Single-Sided (Print-Through Reverse))
Feather Angled Flag - Medium (Double-Sided)
Feather Angled Flag - Medium (Single-Sided (Print-Through))
Feather Angled Flag - Medium (Single-Sided (Print-Through Reverse))
Feather Angled Flag - Small (Double-Sided)
Feather Angled Flag - Small (Single-Sided (Print-Through))
Feather Angled Flag - Small (Single-Sided (Print-Through Reverse))
Feather Angled Flag - Extra Large (Double-Sided)
Feather Angled Flag - Extra Large (Single-Sided (Print-Through))
Feather Angled Flag - Extra Large (Single-Sided (Print-Through Reverse))
Rectangle Flag - Large (Double-Sided)
Rectangle Flag - Large (Single-Sided (Print-Through))
Rectangle Flag - Large (Single-Sided (Print-Through Reverse))
Rectangle Flag - Medium (Double-Sided)
Rectangle Flag - Medium (Single-Sided (Print-Through))
Rectangle Flag - Medium (Single-Sided (Print-Through Reverse))
Rectangle Flag - Small (Double-Sided)
Rectangle Flag - Small (Single-Sided (Print-Through))
Rectangle Flag - Small (Single-Sided (Print-Through Reverse))
Tear Drop Flag - Medium (Double-Sided)
Tear Drop Flag - Extra Large (Double-Sided)
Tear Drop Flag - Extra Large (Single-Sided (Print-Through))
Tear Drop Flag - Extra Large (Single-Sided (Print-Through Reverse))
Teardrop Flag - Large (Double-Sided)
Teardrop Flag - Large (Single-Sided (Print-Through))
Teardrop Flag - Large (Single-Sided (Print-Through Reverse))
Teardrop Flag - Medium (Single-Sided (Print-Through))
Teardrop Flag - Medium (Single-Sided (Print-Through Reverse))
Teardrop Flag - Small (Double-Sided)
Teardrop Flag - Small (Single-Sided (Print-Through))
Teardrop Flag - Small (Single-Sided (Print-Through Reverse))
Feather Angled Flag - Medium (Double-Sided)
Feather Angled Flag - Medium (Single-Sided (Print-Through))
Feather Angled Flag - Small (Double-Sided)
Feather Angled Flag - Small (Single-Sided (Print-Through))
Tear Drop Flag - Medium (Double-Sided)
Teardrop Flag - Medium (Single-Sided (Print-Through))
Teardrop Flag - Small (Double-Sided)
Teardrop Flag - Small (Single-Sided (Print-Through))
General Displays & Popups
Curved and straight velcro fabric displays and podium wraps.
General Artwork Preparation & Template Guide
Installation Guide - Pop Up Display
Trade Show Podium Fabric Graphic Template
Velcro Fabric Pop Up Display 10ft Curve
Velcro Fabric Pop Up Display 8ft Curve
Installation Guide - Pop Up Display
Trade Show Podium Fabric Graphic Template
Velcro Fabric Pop Up Display 10ft Straight
Velcro Fabric Pop Up Display 8ft Straight
Signs & Hardware
File preparation and setup guides for rigid metal signs.
Custom Metal Sign - File Setup & Bleed Guide
Table Covers & Throws
Fitted covers, stretch spandex, and round tablecloths.
4ft Table Throw (3-Sided, Open Back)
4ft Table Throw (4-Sided, Closed Back)
6ft Table Throw (3-Sided, Open Back)
6ft Table Throw (4-Sided, Closed Back)
8ft Table Throw (4-Sided, Closed Back)
8ft Table Throw (3-Sided, Open Back)
6ft Fitted Table Cover (Full Back)
6ft Fitted Table Cover (Open Back)
8ft Fitted Table Cover (Full Back)
8ft Fitted Table Cover (Open Back)
31in Round Tablecloth (Bar Height)
31in Round Tablecloth (Standard Height)
36in Round Tablecloth (Standard Height)
48in Round Tablecloth (Standard Height)
60in Round Tablecloth (Standard Height)
6ft Stretch Table Cover
8ft Stretch Table Cover
Tents & Canopies
Custom event tent canopies, full walls, and half walls.
10ft Event Tent - Mesh Sidewall Installation Guide
15ft Event Tent - Long Side Full Wall Template
15ft Event Tent - Long Side Wall Template
15ft Event Tent - Short Side Full Wall Template
15ft Event Tent - Short Side Wall Template
Event Tent Setup & Installation Guide
10x15 Event Tent - Half Wall Graphic Template
20ft Event Tent - Long Side Full Wall Template
20ft Event Tent - Long Side Wall Template
20ft Event Tent - Short Side Full Wall Template
20ft Event Tent - Short Side Wall Template
Event Tent Setup & Installation Guide
10x20 Event Tent - Half Wall Graphic Template
15ft Event Tent - Long Side Full Wall Template
15ft Event Tent - Short Side Full Wall Template
15ft Tent Walls - Half Wall Graphic Template
20ft Event Tent - Long Side Full Wall Template
20ft Event Tent - Short Side Full Wall Template
20ft Tent Walls - Half Wall Graphic Template
Event Tent Setup & Installation Guide
Event Tent Canopy Graphic - Canopy Graphic Template
Event Tent Canopy Graphic - Full Wall Graphic Template
Event Tent Canopy Graphic - Half Wall Graphic Template
Tent Wall Full Color - Full Wall Graphic Template
Tent Wall Full Color - Half Wall Graphic Template
Trade Show Booths
Artwork templates and setup instructions for modular booths.
10x10ft Custom Booth 03 - Artwork Template
10x10ft Custom Booth 03 - Setup Instructions
10x10ft Custom Booth 09 - Artwork Template
10x10ft Custom Booth 09 - Setup Instructions
10x10ft Custom Booth 16 - Artwork Template
10x10ft Custom Booth 16 - Setup Instructions
10x10ft Custom Booth 17 - Setup Instructions
10x10ft Custom Booth 17 - Artwork Template
10x10ft Custom Booth 18 - Setup Instructions
10x10ft Custom Booth 18 - Artwork Template
10x10ft Custom Booth 19 - Setup Instructions
10x10ft Custom Booth 19 - Artwork Template
10x10ft Custom Booth 25 - Setup Instructions
10x10ft Custom Booth 25 - Artwork Template
10x10ft Custom Booth 26 - Setup Instructions
10x10ft Custom Booth 26 - Artwork Template
10x10ft Custom Booth 27 - Setup Instructions
10x10ft Custom Booth 27 - Artwork Template
10x10ft Custom Booth A1 - Artwork Template
10x10ft Custom Booth A1 - Setup Instructions
10x10ft Custom Booth B1 - Artwork Template
10x10ft Custom Booth B1 - Setup Instructions
10x10ft Custom Booth C - Artwork Template
10x10ft Custom Booth C - Setup Instructions
10x10ft Custom Booth E - Artwork Template
10x10ft Custom Booth E - Setup Instructions
10x10ft Custom Booth I - Artwork Template
10x10ft Custom Booth I - Setup Instructions
10x10ft Custom Booth K - Artwork Template
10x10ft Custom Booth K - Setup Instructions
10x10ft Custom Booth L - Artwork Template
10x10ft Custom Booth L - Setup Instructions
10x10ft Custom Booth M - Artwork Template
10x10ft Custom Booth M - Setup Instructions
10x10ft Custom Booth O - Artwork Template
10x10ft Custom Booth O - Setup Instructions
10x10ft Custom Booth U - Artwork Template
10x10ft Custom Booth U - Setup Instructions
10x10ft Custom Booth Y - Artwork Template
10x10ft Custom Booth Y - Setup Instructions
10x20ft Custom Booth 02 - Artwork Template
10x20ft Custom Booth 02 - Setup Instructions
10x20ft Custom Booth 06 - Artwork Template
10x20ft Custom Booth 06 - Setup Instructions
10x20ft Custom Booth 13 - Artwork Template
10x20ft Custom Booth 13 - Setup Instructions
10x20ft Custom Booth 14 - Artwork Template
10x20ft Custom Booth 14 - Setup Instructions
10x20ft Custom Booth 16 - Artwork Template
10x20ft Custom Booth 16 - Setup Instructions
10x20ft Custom Booth G - Artwork Template
10x20ft Custom Booth G - Setup Instructions
10x20ft Custom Booth H - Artwork Template
10x20ft Custom Booth H - Setup Instructions
10x20ft Custom Booth J - Artwork Template
10x20ft Custom Booth J - Setup Instructions
10x20ft Custom Booth L - Artwork Template
10x20ft Custom Booth L - Setup Instructions
10x20ft Custom Booth Q - Artwork Template
10x20ft Custom Booth Q - Setup Instructions
20x20ft Custom Booth 05 - Artwork Template
20x20ft Custom Booth 05 - Setup Instructions
20x20ft Custom Booth A - Artwork Template
20x20ft Custom Booth A - Setup Instructions
Need assistance with your artwork setup?
If your project requires custom proportions, specialized finishes, or file pre-flight review, Sykes Printing's production team in Coral Gables is ready to help.